Gasas Shrine ‘Well-Timed Cuts’ walkthrough in Zelda: Tears of the Kingdom
How to complete the Gasas Shrine in Zelda: Tears of the Kingdom, including its location and the full ‘Well-Timed Cuts’ puzzle solution.
This article references relevant content from the polygon.com website. Original article link: [https://www.polygon.com/zelda-tears-of-the-kingdom-guide/23730080/gasas-shrine-well-timed-cuts-solution-puzzle-reward]
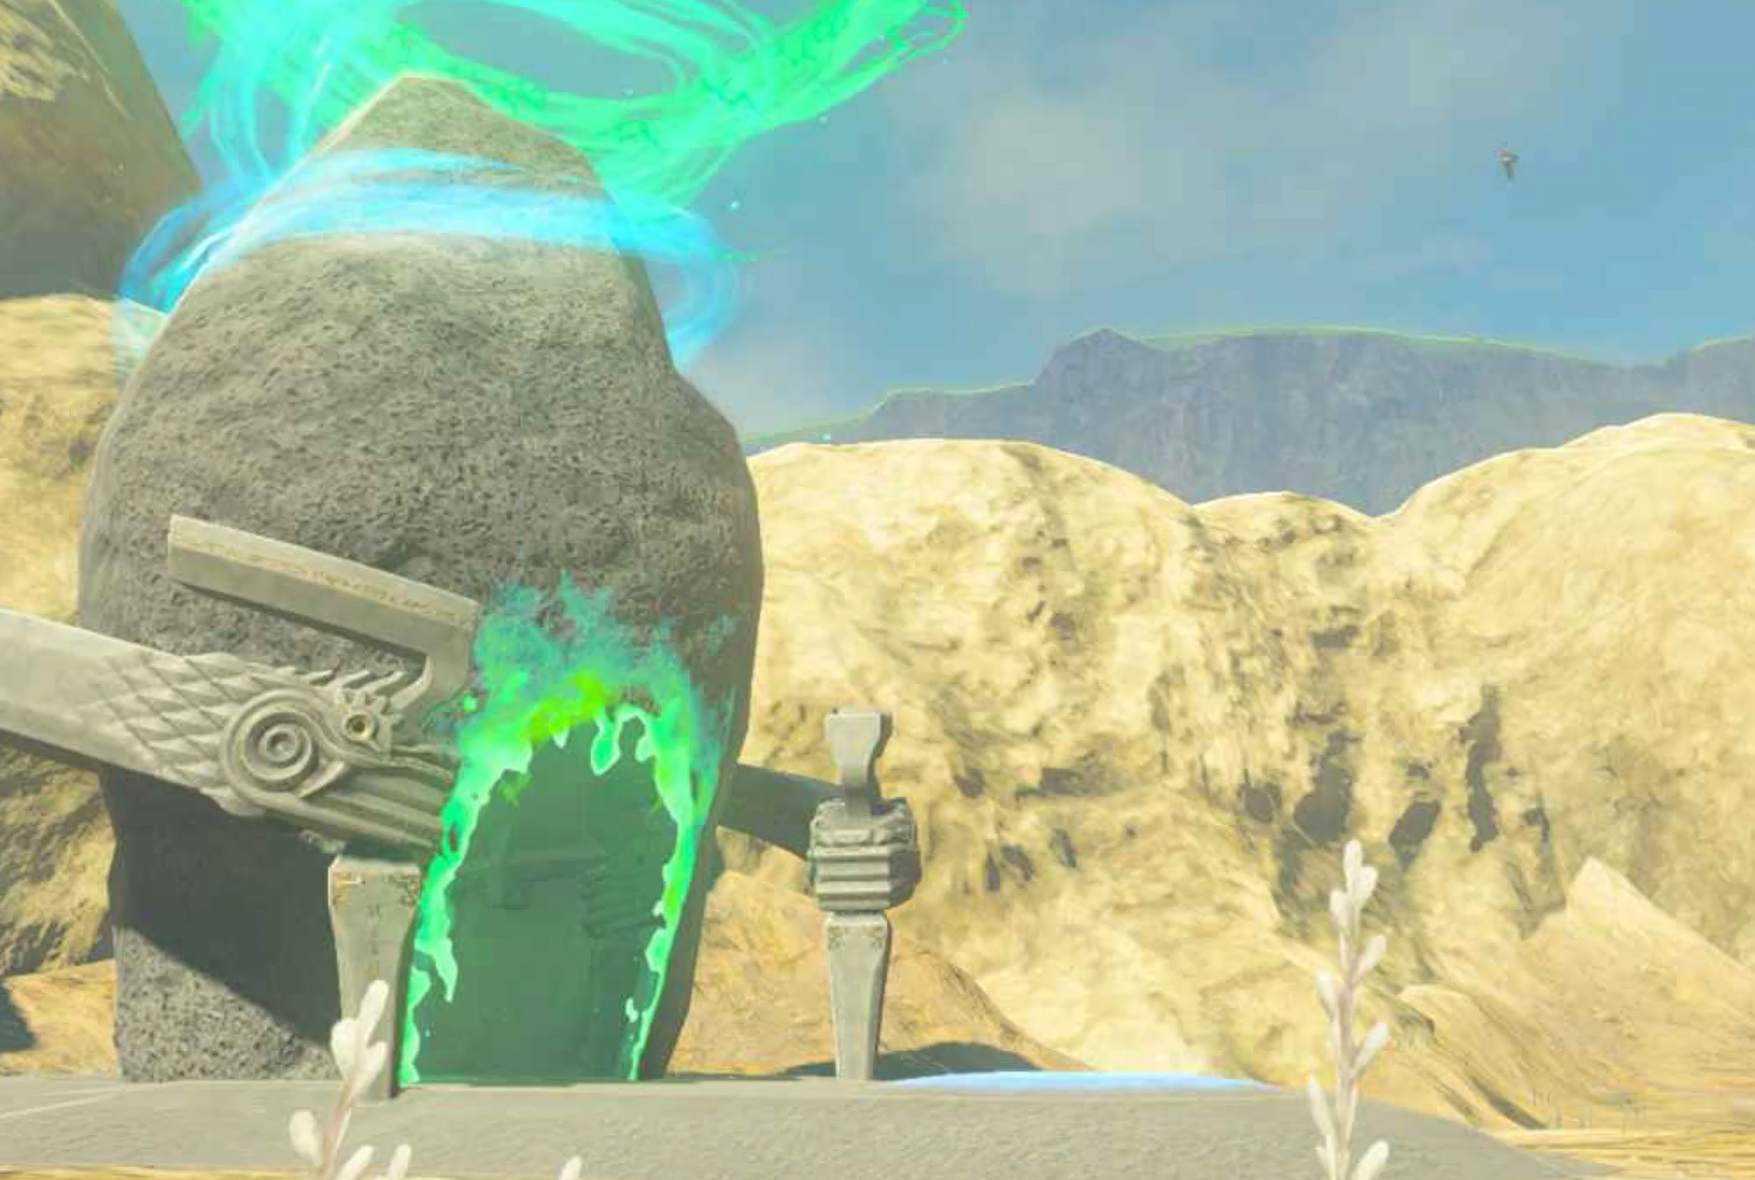
The Gasas Shrine is located within The Legend of Zelda: Tears of the Kingdom’s Tabantha Frontier region of Hyrule.
Our guide will help you find the Gasas Shrine location and solve its “Well-Timed Cuts” puzzles to collect the chest and Light of Blessing.
When you’re done, our shrine locations page or interactive Hyrule map can direct you toward something else to do.
Gasas Shrine location
The Gasas Shrine is located within the Tabantha Frontier region of Hyrule at the coordinates of (-4151, 0098, 0040).
Gasas Shrine ‘Well-Timed Cuts’ walkthrough
Inside the Gasas Shrine, you’ll have to use arrows to cut ropes and drop items. But it’s not that simple — using your other tools is essential for making your way through the rest of the puzzle. Let’s get started.
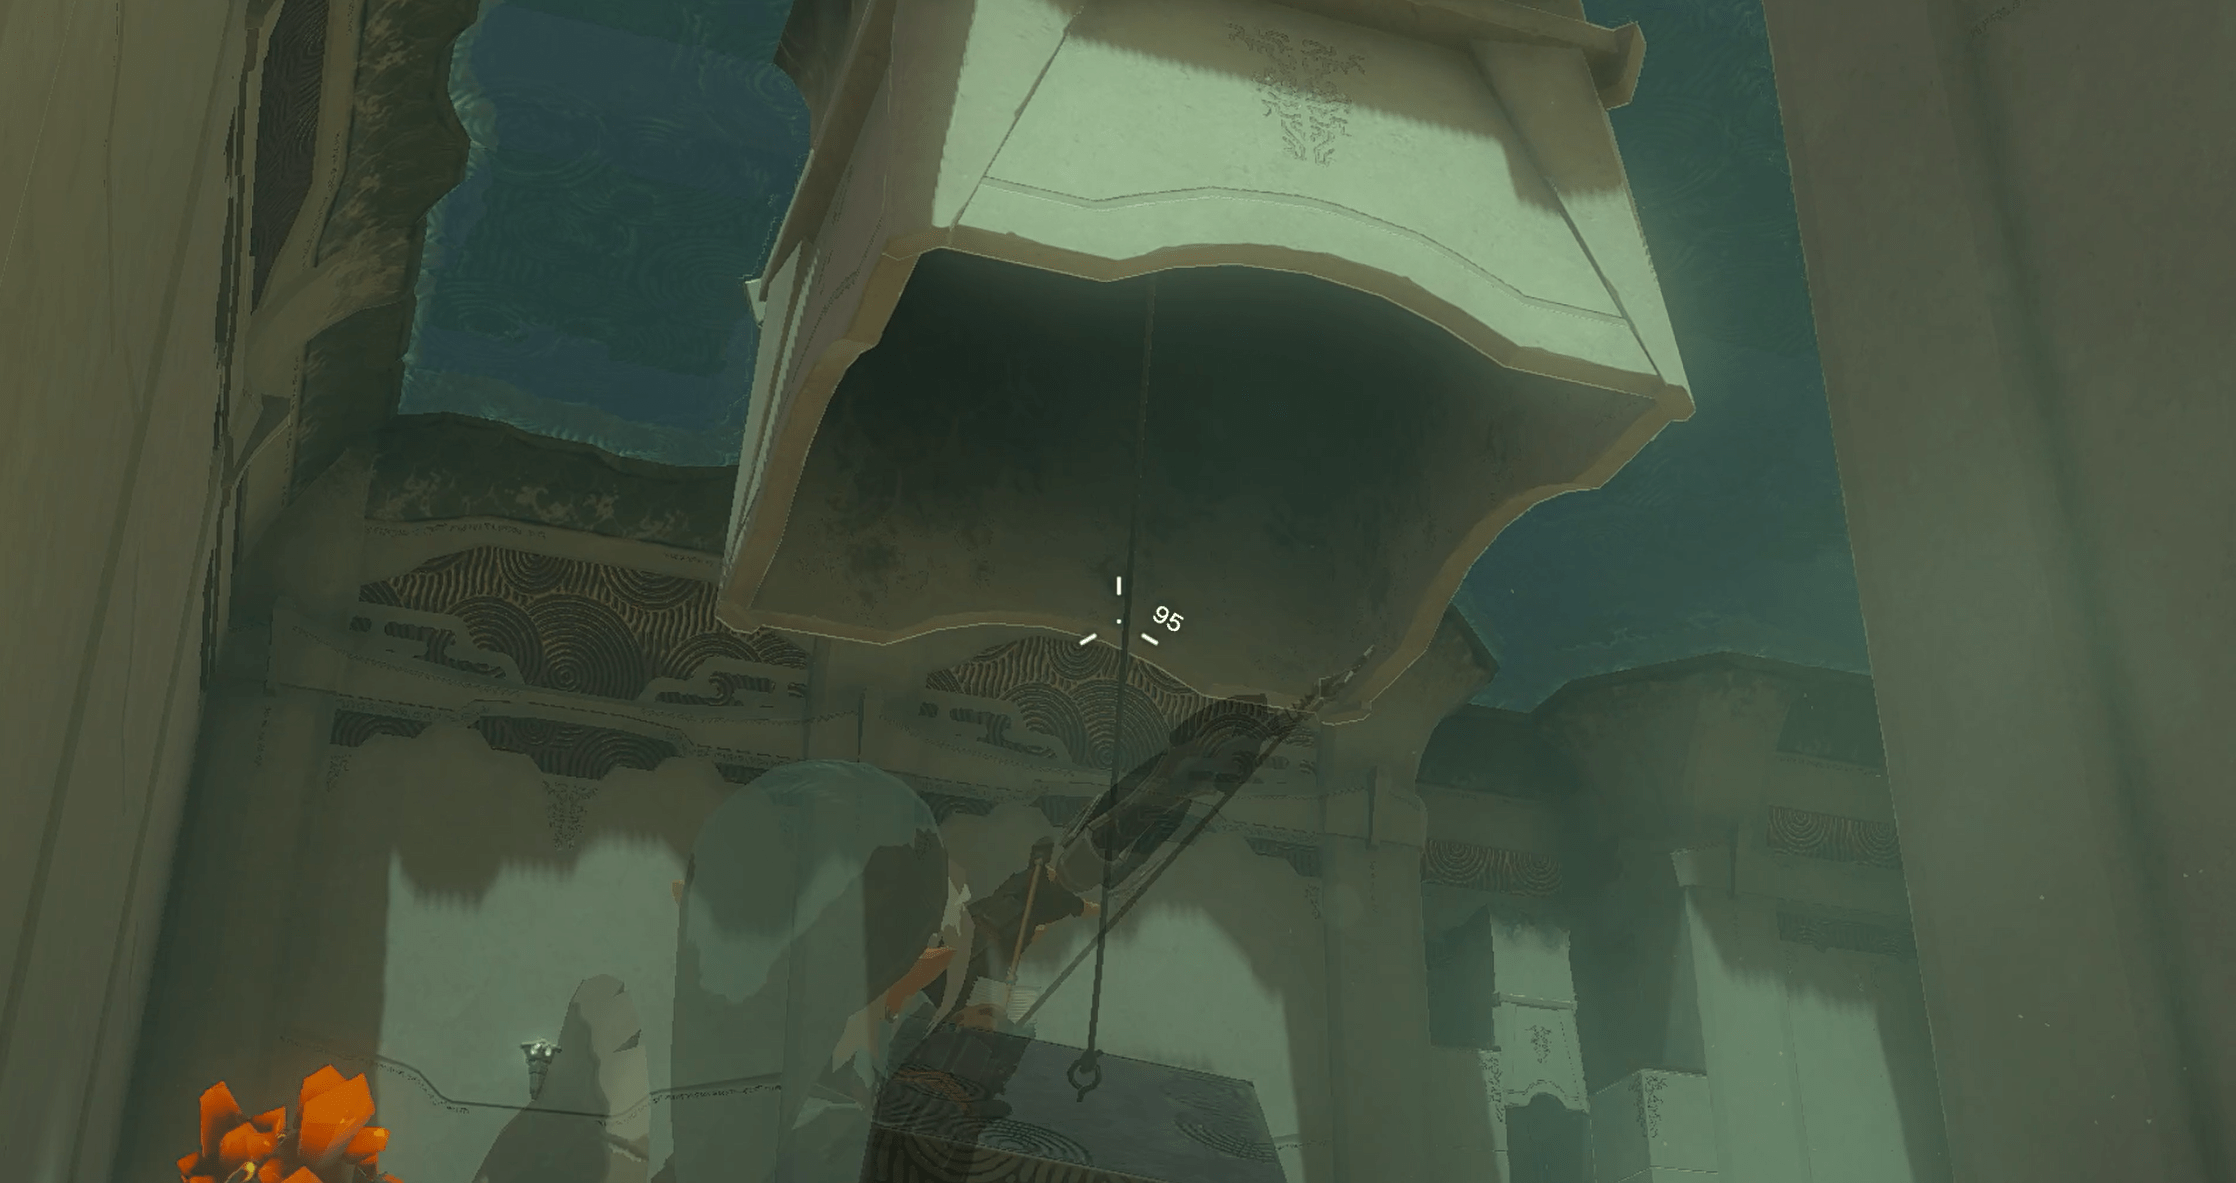
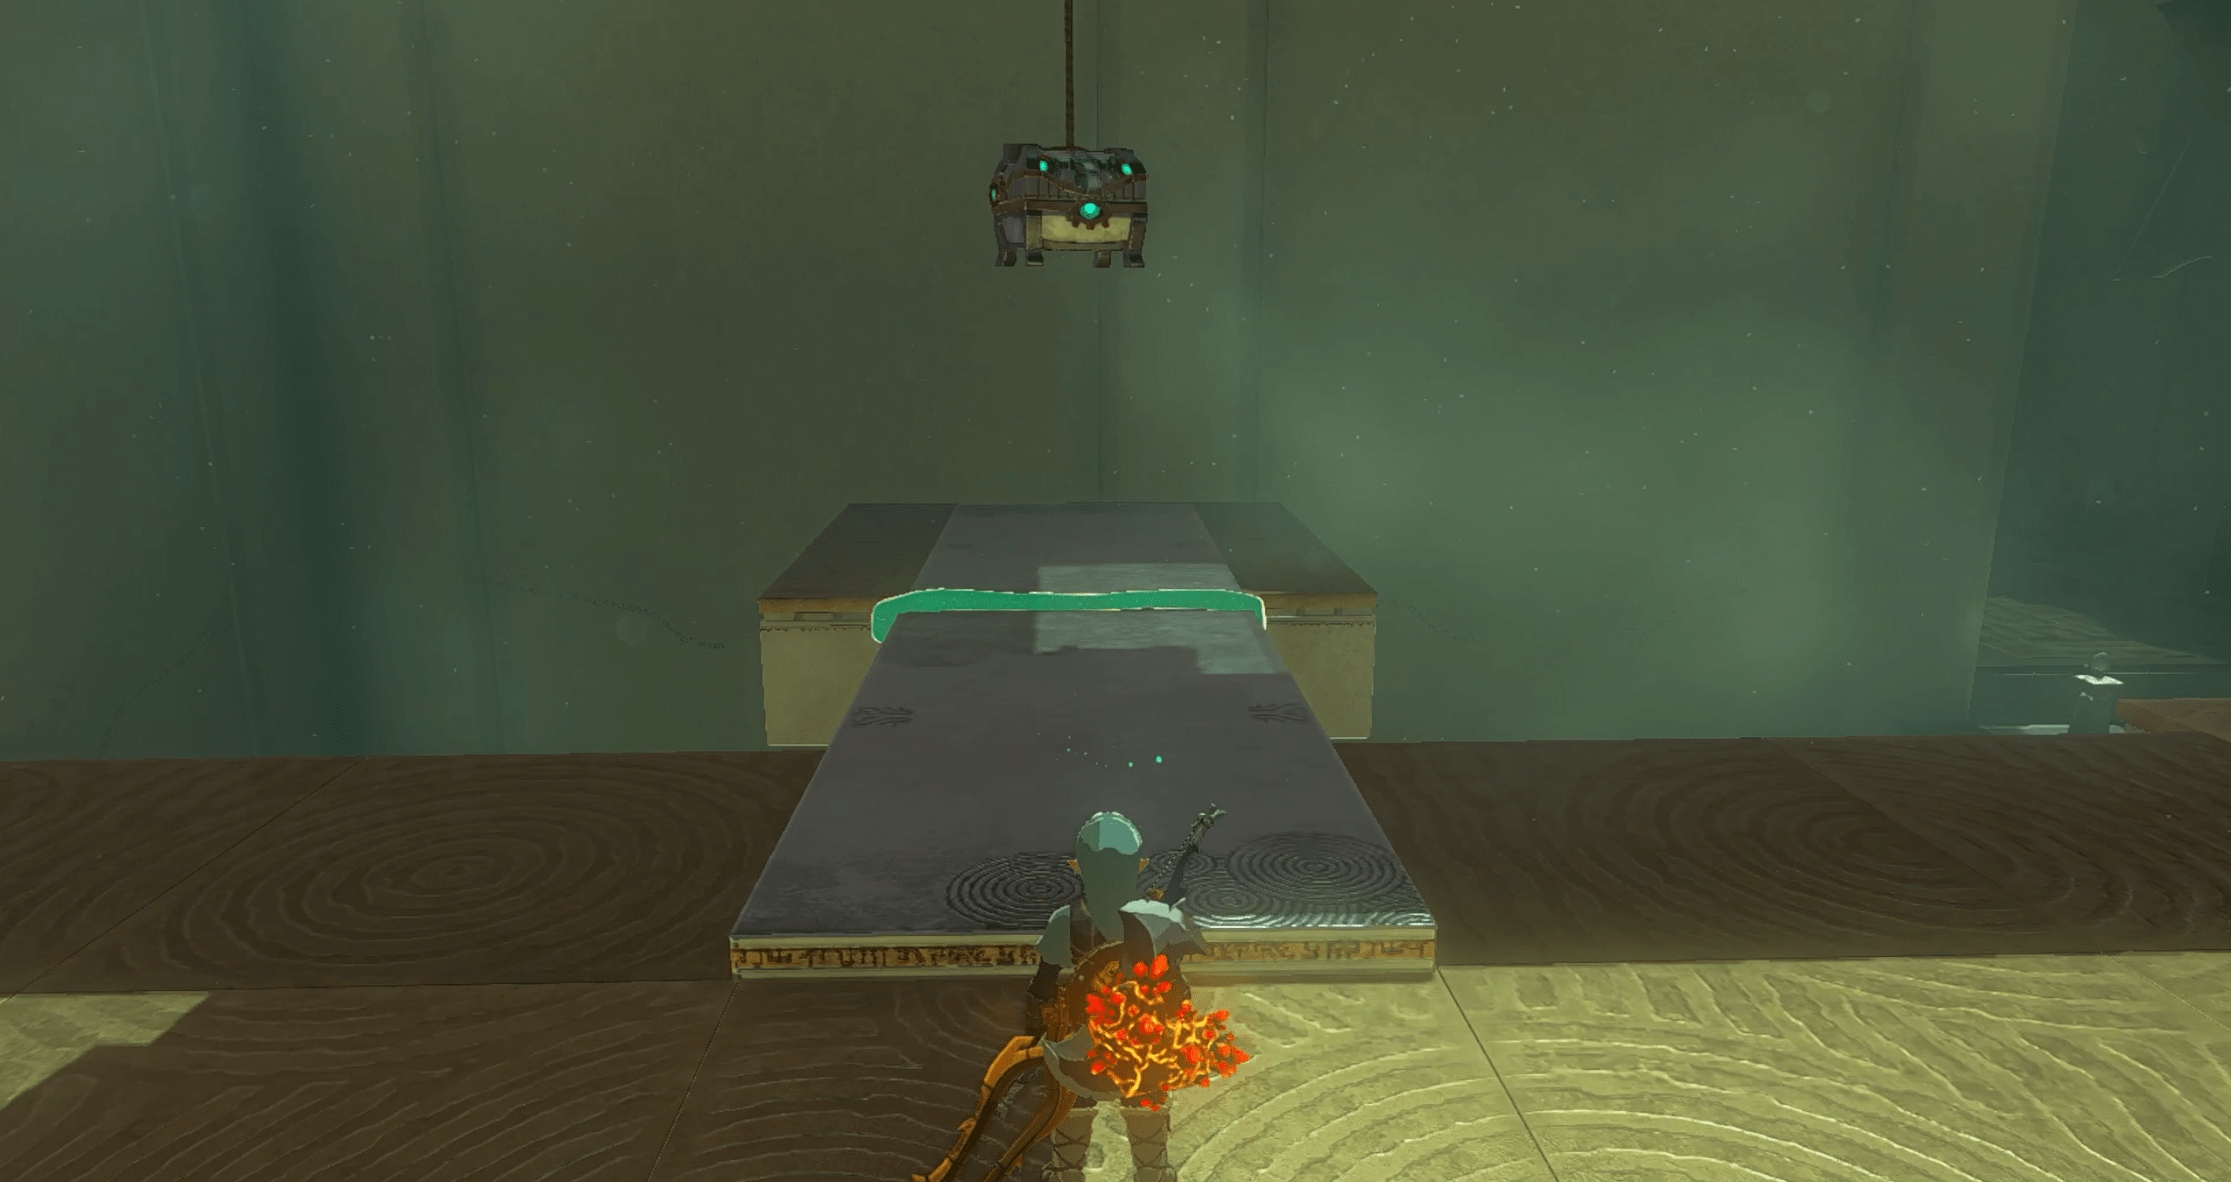
1. Straight ahead there’s a block hanging from the ceiling by a rope. Use an arrow to cut the rope and drop the block.
2. Use the block to hop over the gap.
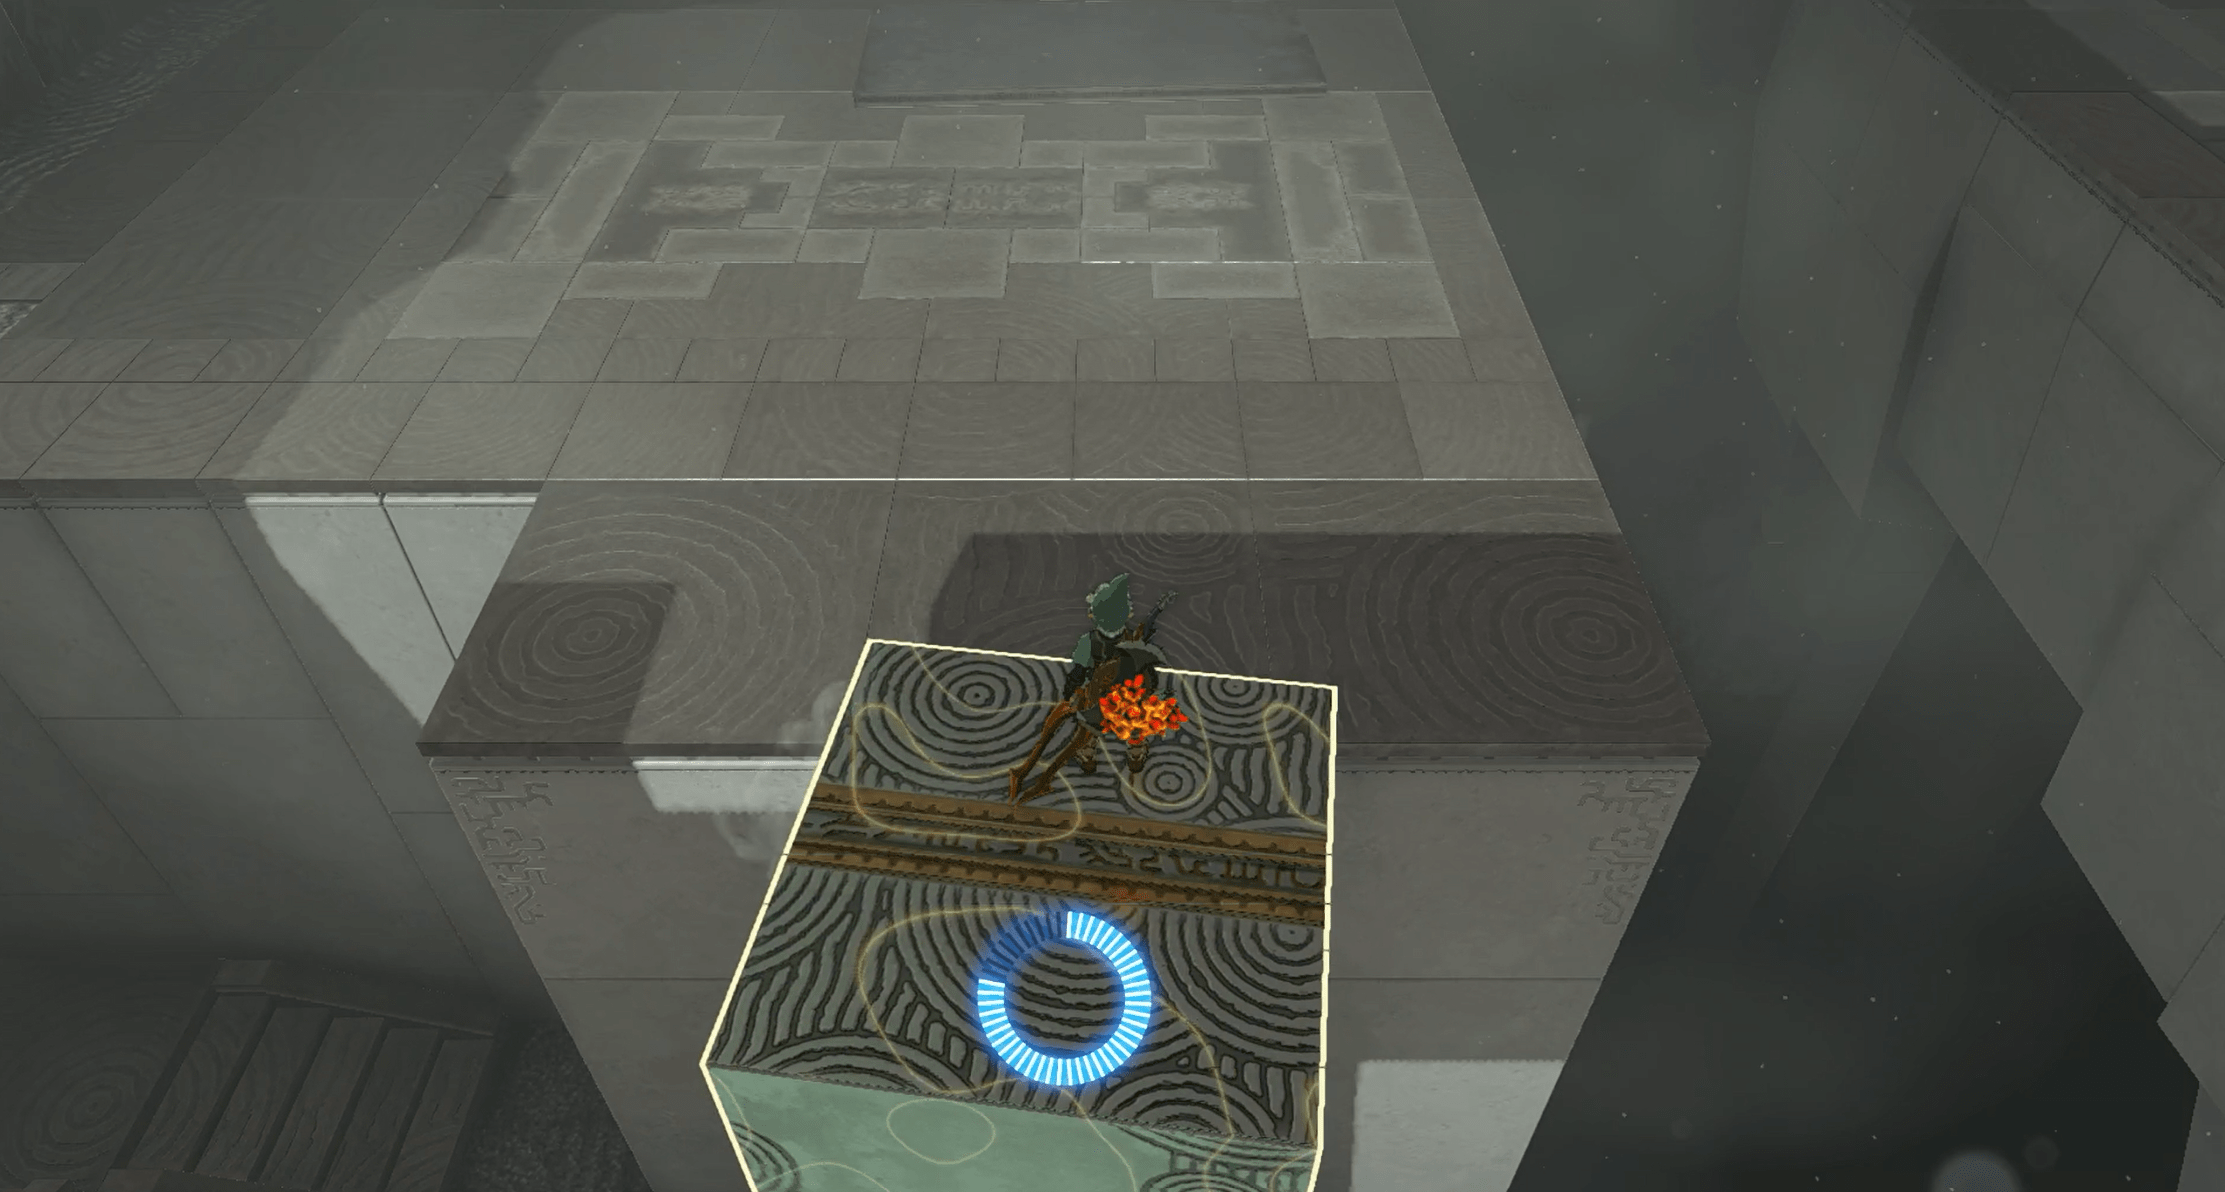
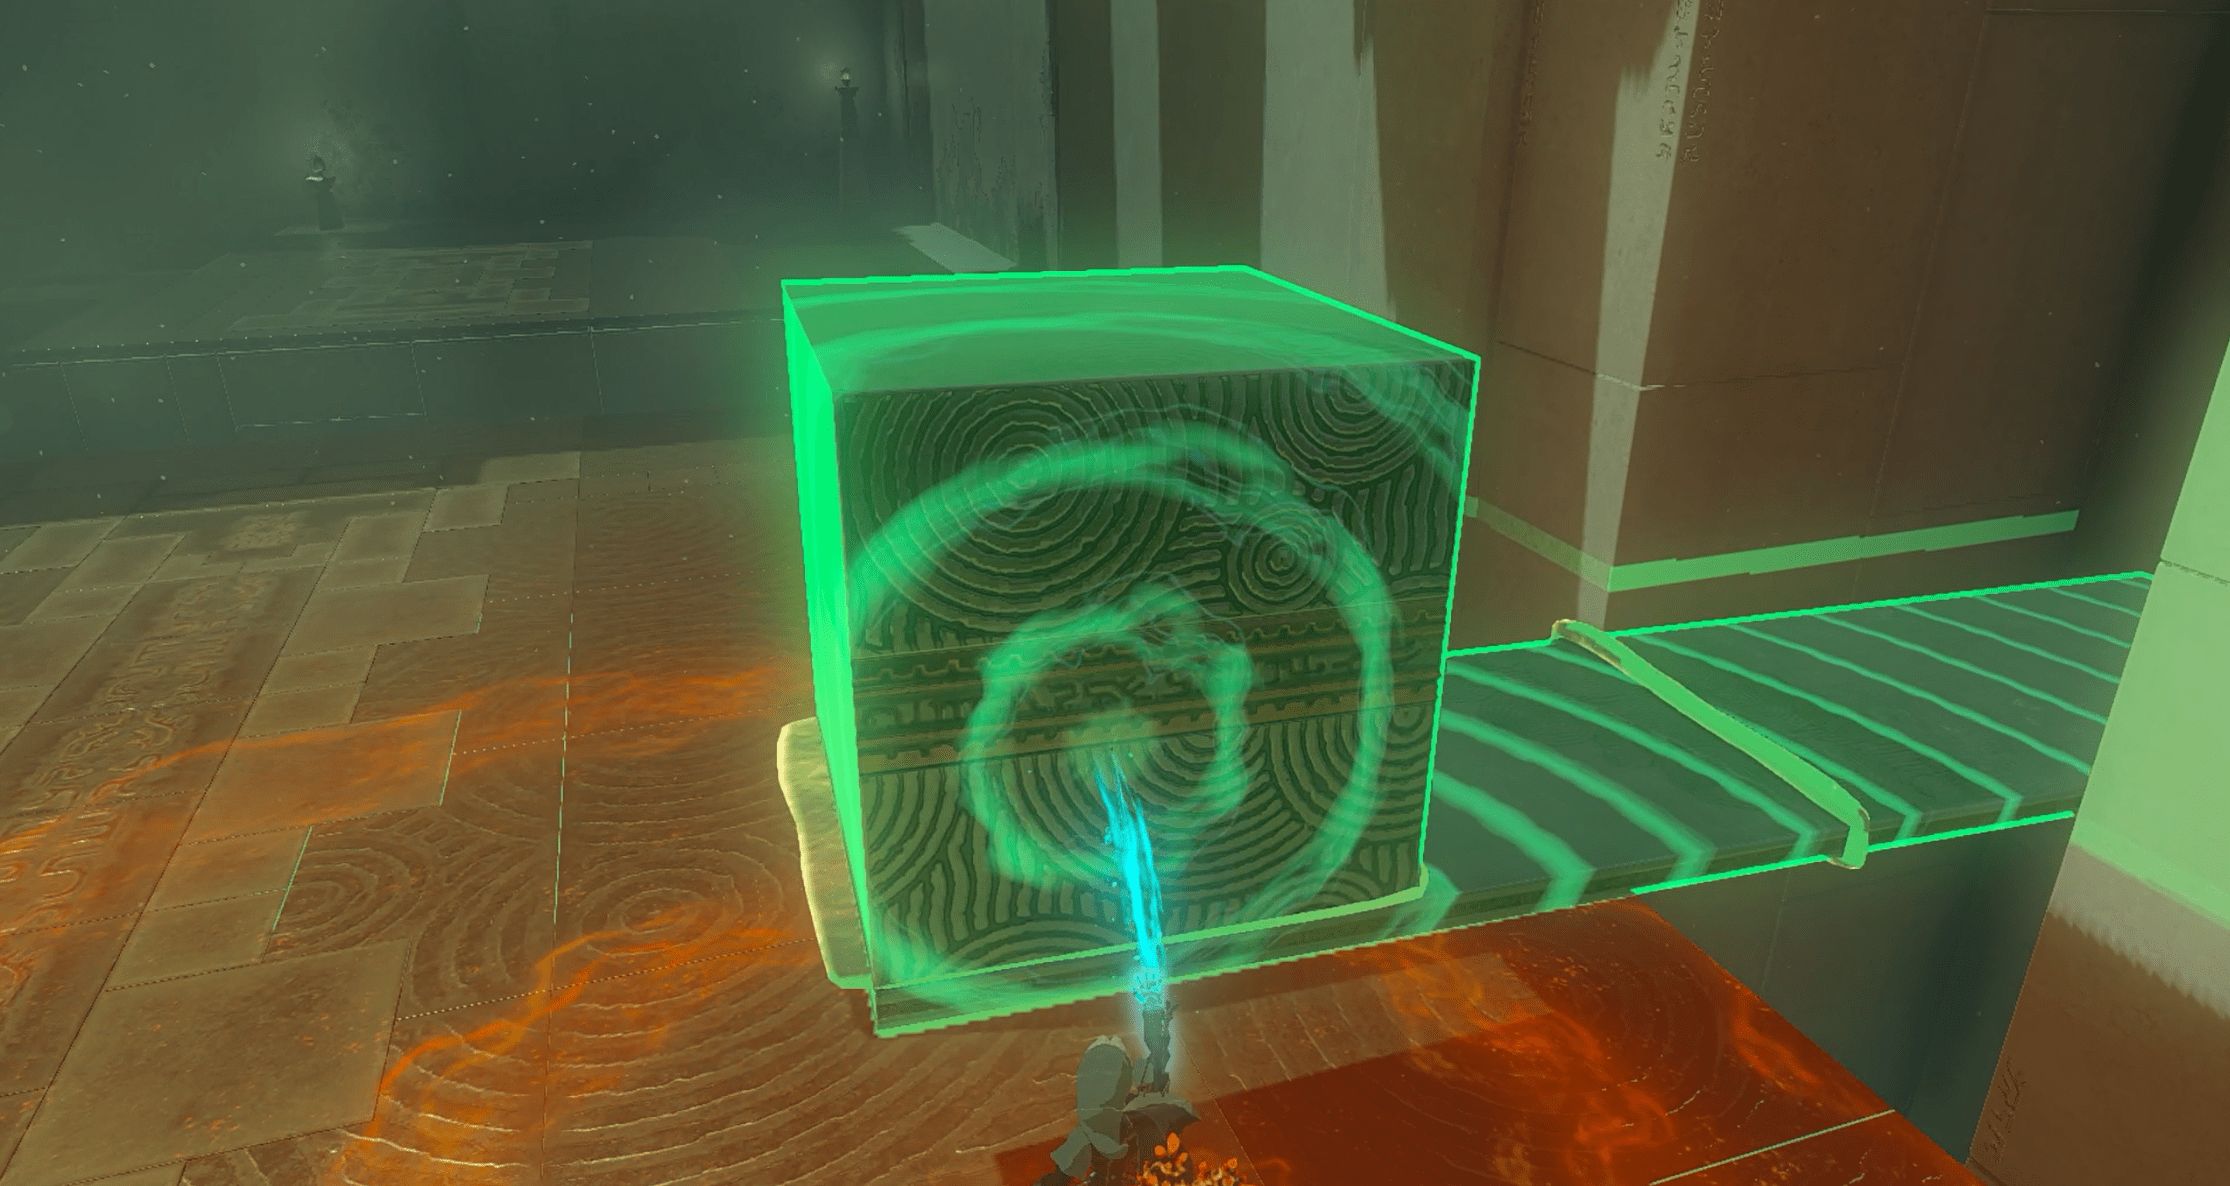
3. Straight ahead, there’s another block near a staircase. Pick that block up and use Ultrahand to drop it from above the platform ahead. Then, use Recall to reverse the block’s motion, essentially creating an elevator to the next level.
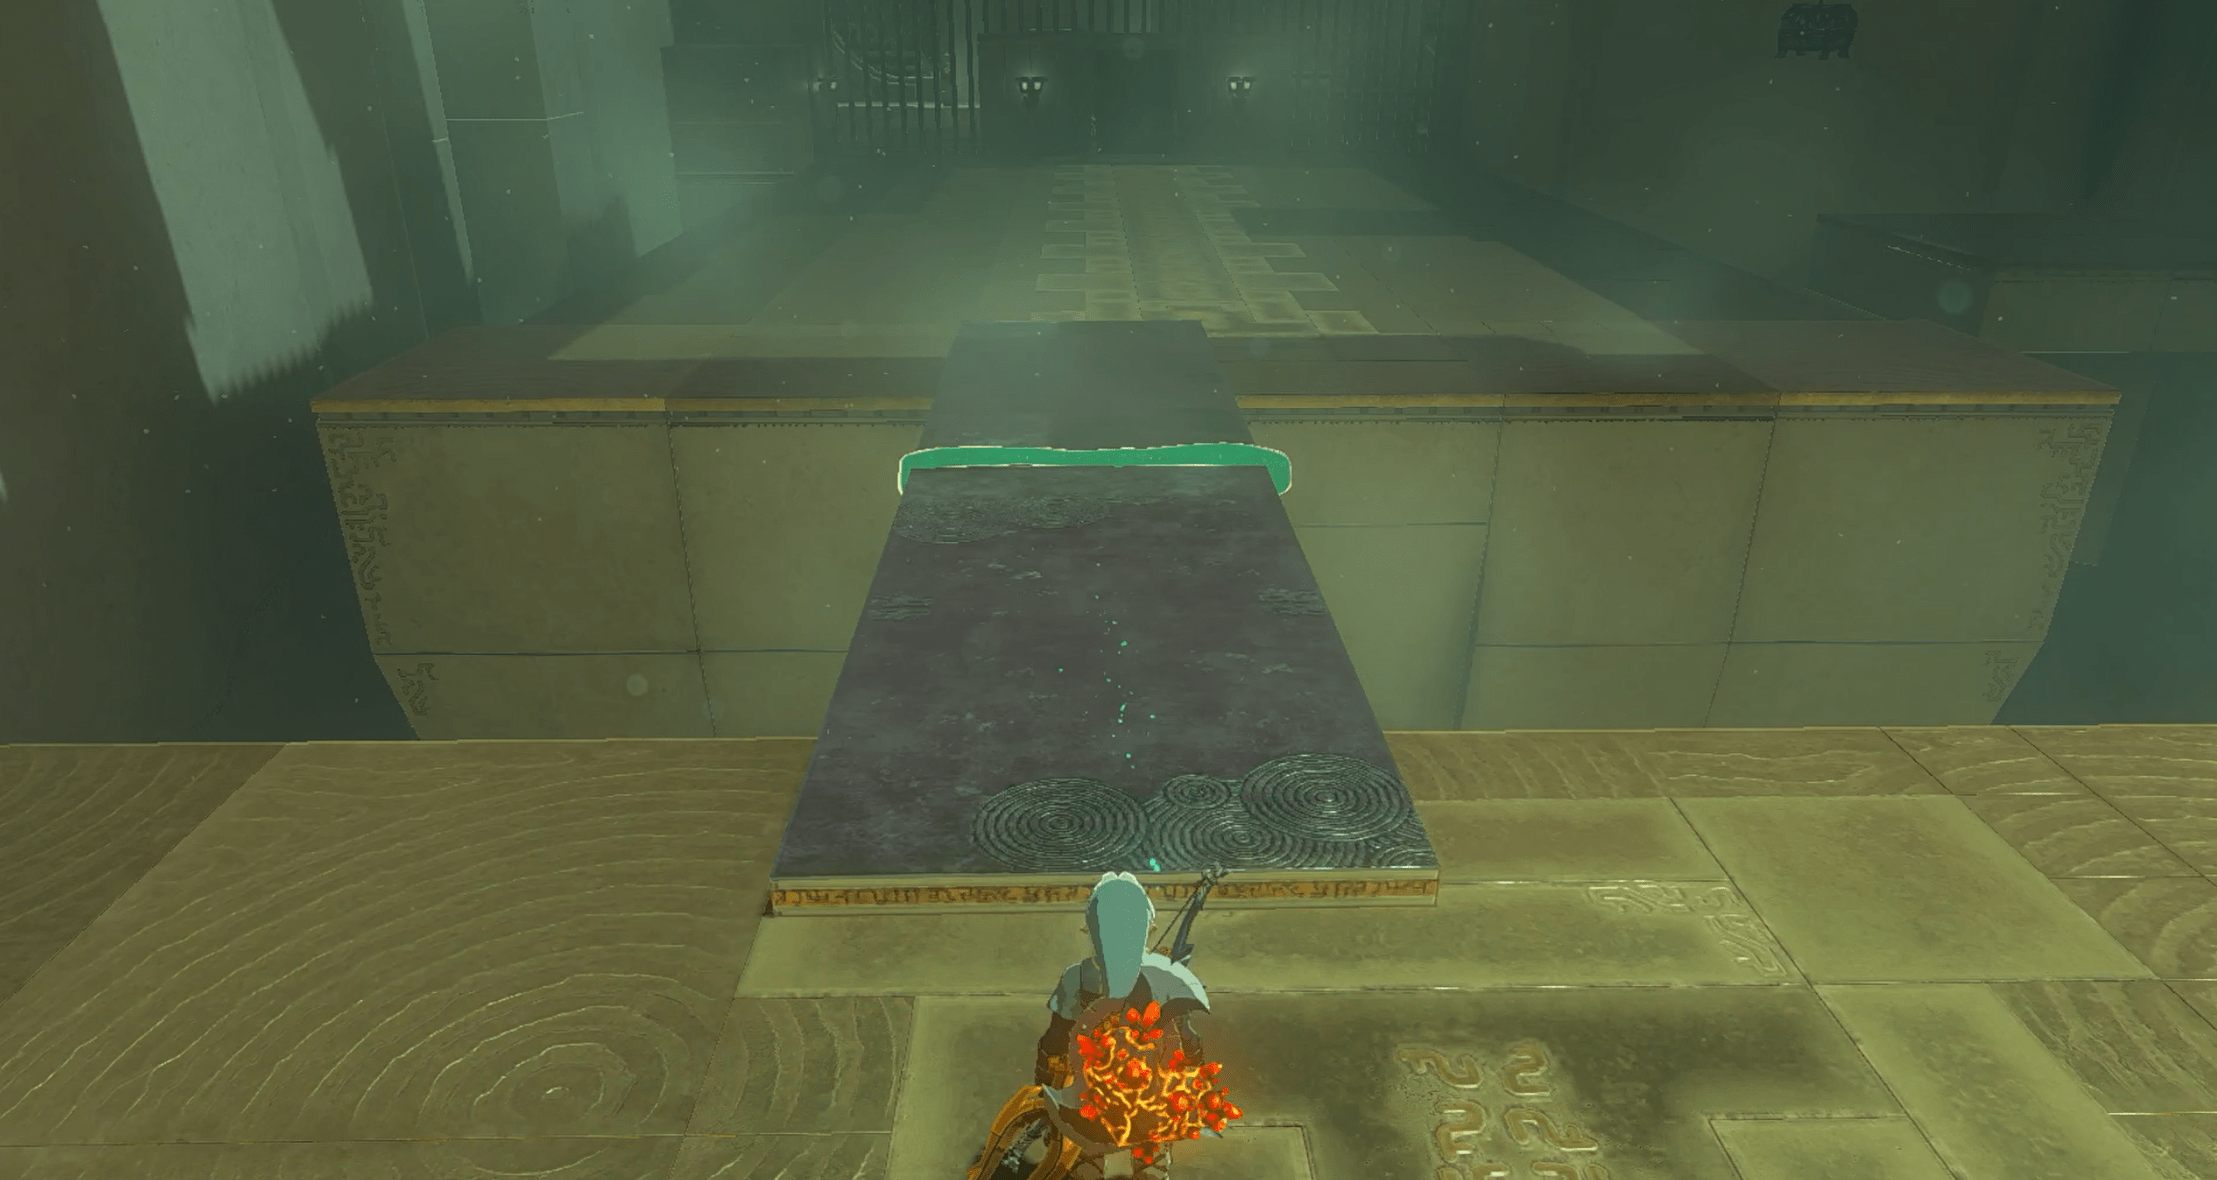
4. Straight ahead, use Ultrahand to glue together the two stone slabs to make a bridge. Cross over, then move the bridge so it’s crossing over to the platform on the right.
5. Shoot down the treasure chest that’s hanging above your newly placed bridge. It’s got a large Zonai charge inside.
6. There’s another block in the back corner of the room. Grab it and use Ultrahand to glue it to the stone slab bridge.
7. Move the bridge (with the block) to the opposite side wall where there’s another hanging chest. The block is important to act as a counterweight, so the bridge doesn’t fall.
8. Shoot down the chest. Inside, there’s a small key to open this chamber’s gate into the next room.
9. Head straight in. To the right, there’s a ball hanging from a string. You need to shoot it down and move it to the left side of the room, into the divot in the floor. The trick is not letting fall into the pit below. To do that, we used Recall before shooting the ball down so it keeps swinging once the string breaks. Then, we stopped Recall when the ball was over the ledge, making it easy to pick up.
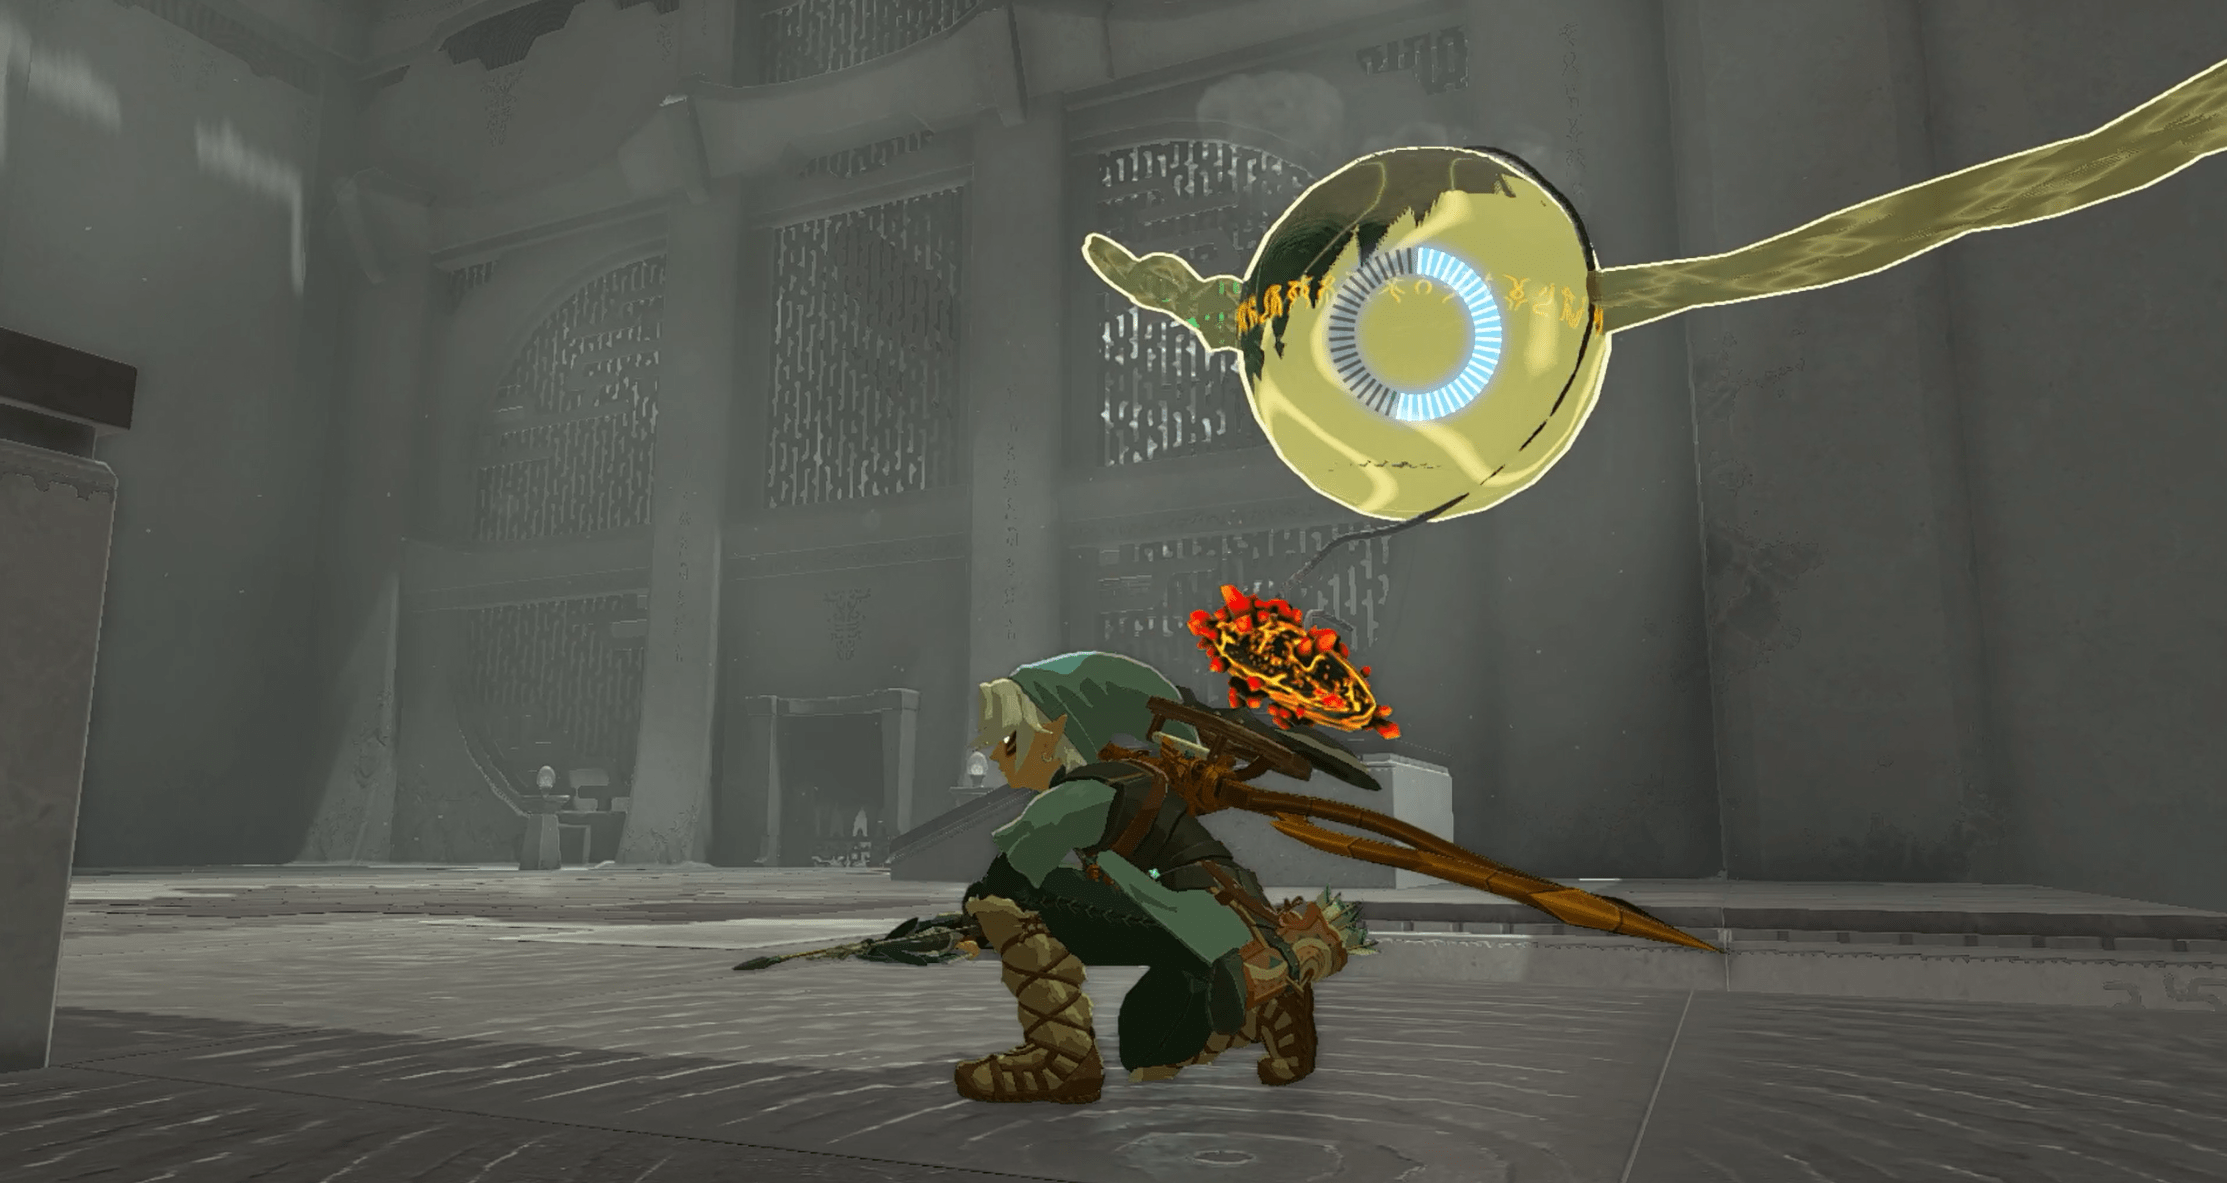
10. Bring the ball over to the slot in the floor. This will open the gate to the next room.
11. Head in there to complete the shrine and collect the Light of Blessing.