Ekochiu Shrine location and walkthrough in Zelda: Tears of the Kingdom
How to complete the Ekochiu Shrine in Zelda: Tears of the Kingdom, including its location and the full Rise and Fall puzzle solution.
This article references relevant content from the polygon.com website. Original article link: [https://www.polygon.com/zelda-tears-of-the-kingdom-guide/23708847/ekochiu-shrine-solution-puzzle-chest]
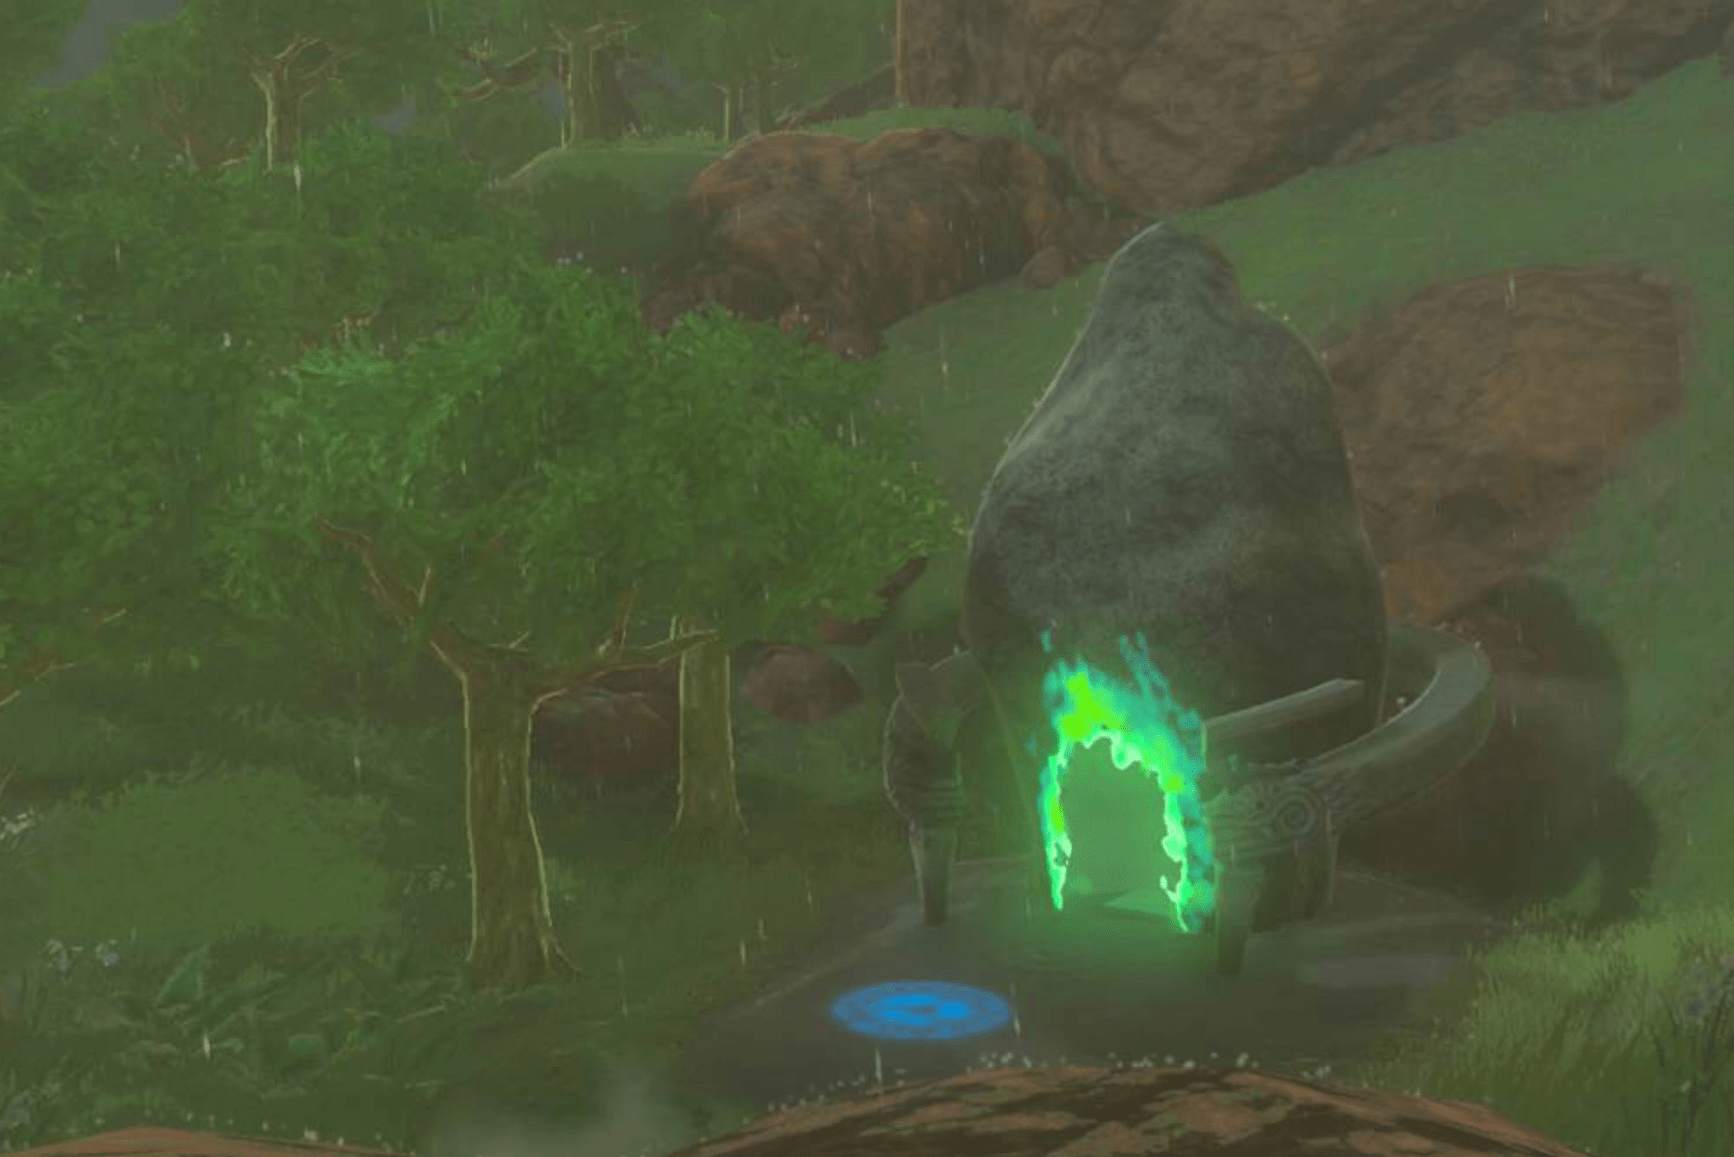
Ekochiu Shrine is located within The Legend of Zelda: Tears of the Kingdom’s Great Hyrule Field region.
Our guide will help you find the Ekochiu Shrine location and solve its puzzles to collect the rewards from its treasure chest and receive the Light of Blessing.
When you’re done, our shrine locations page or interactive Hyrule map can direct you toward something else to do.
Ekochiu Shrine location
The Ekochiu Shrine is found in the Great Hyrule Field region of Tears of the Kingdom. You’ll find it at the coordinates of (1059, 1276, 0045).
Ekochiu Shrine walkthrough
The Ekochiu Shrine tests Link’s ability to use Recall, which rewinds time. You’ll have to be clever with the use of the ability to solve the shrine’s puzzle.
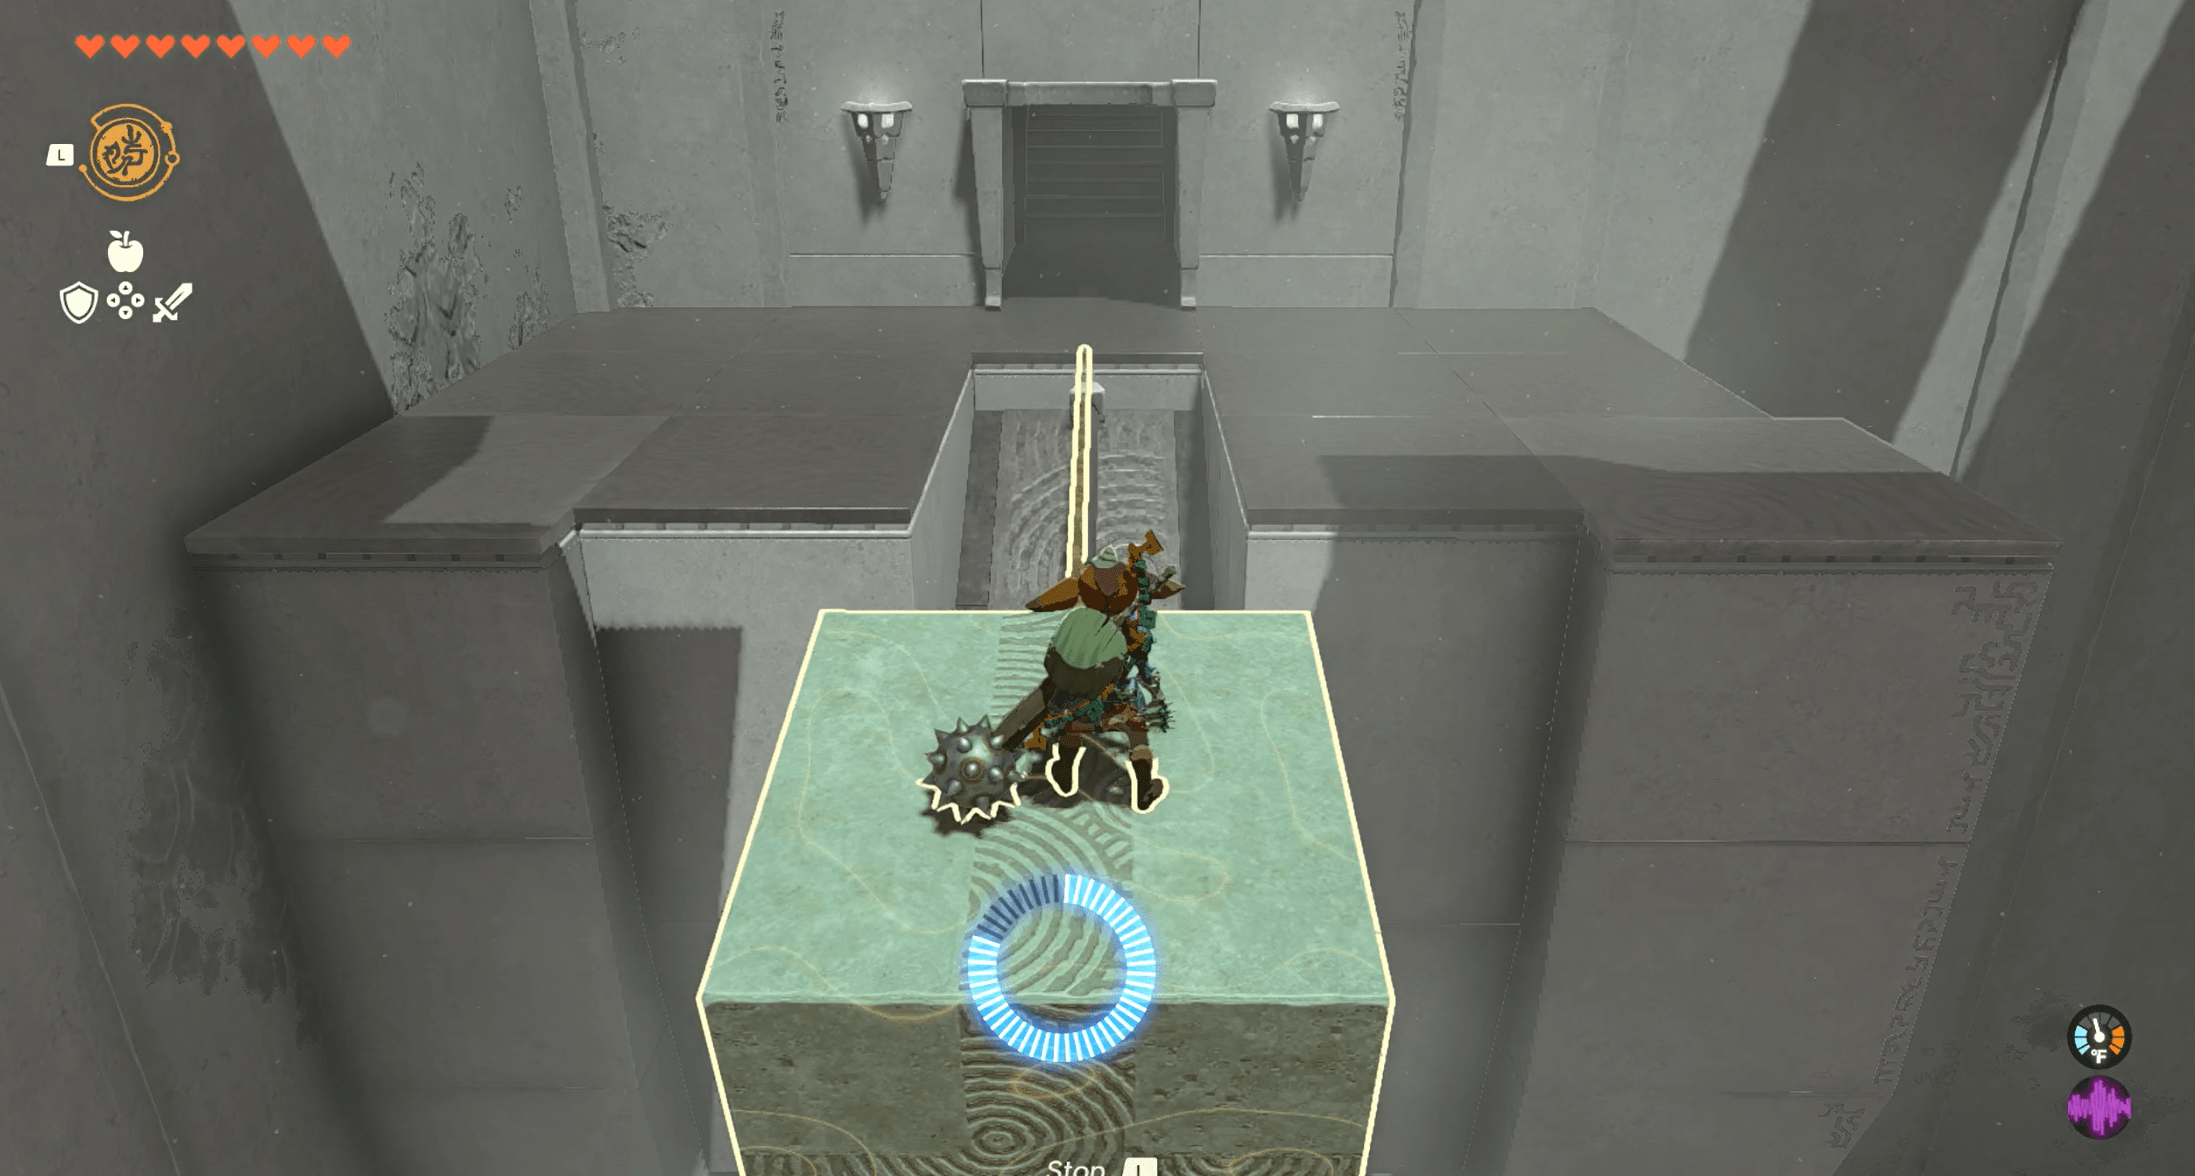
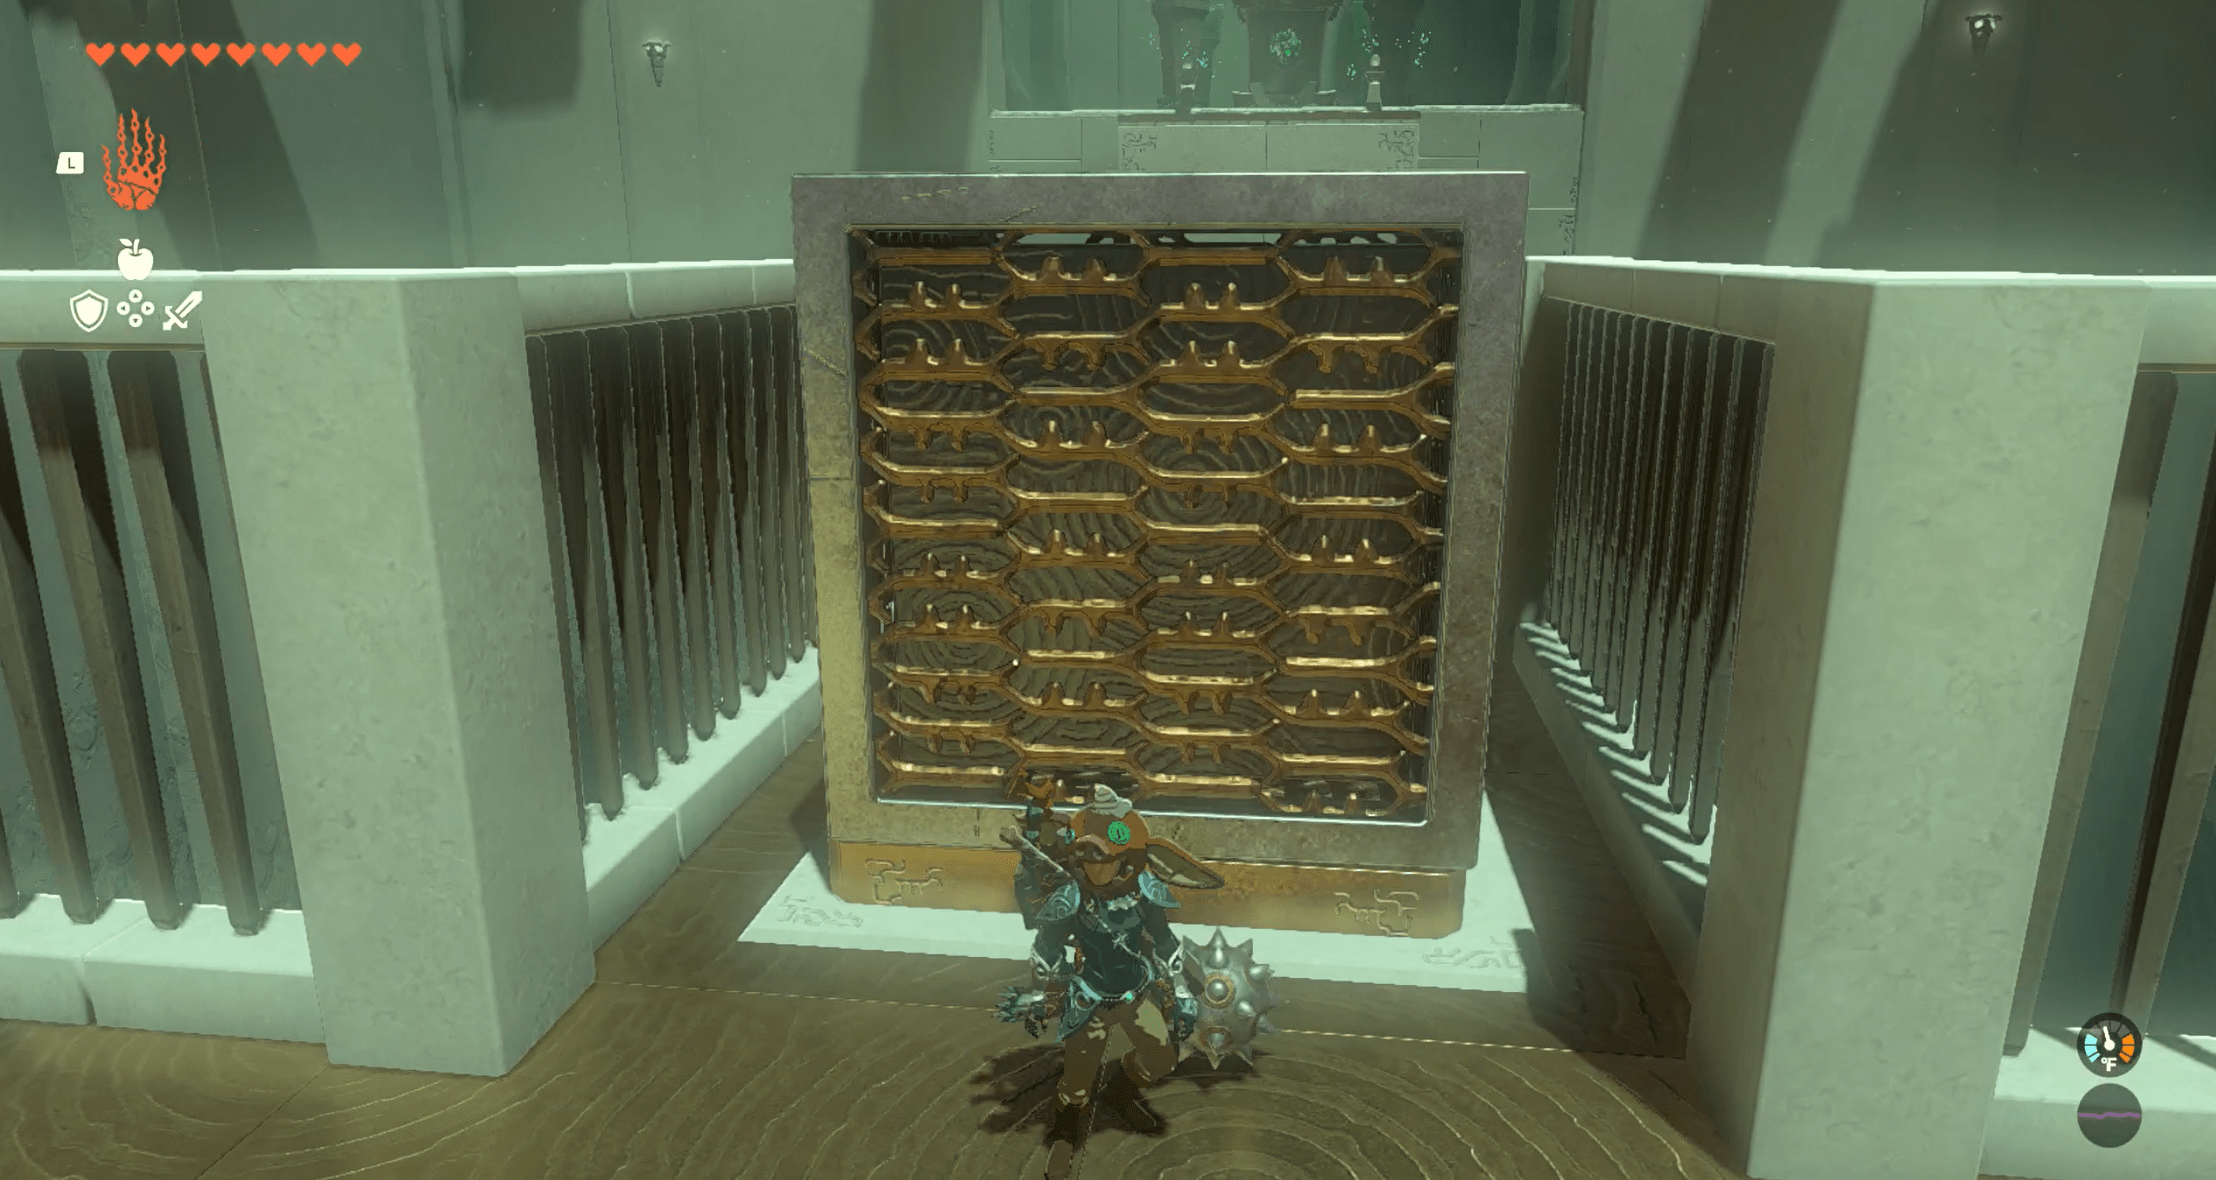
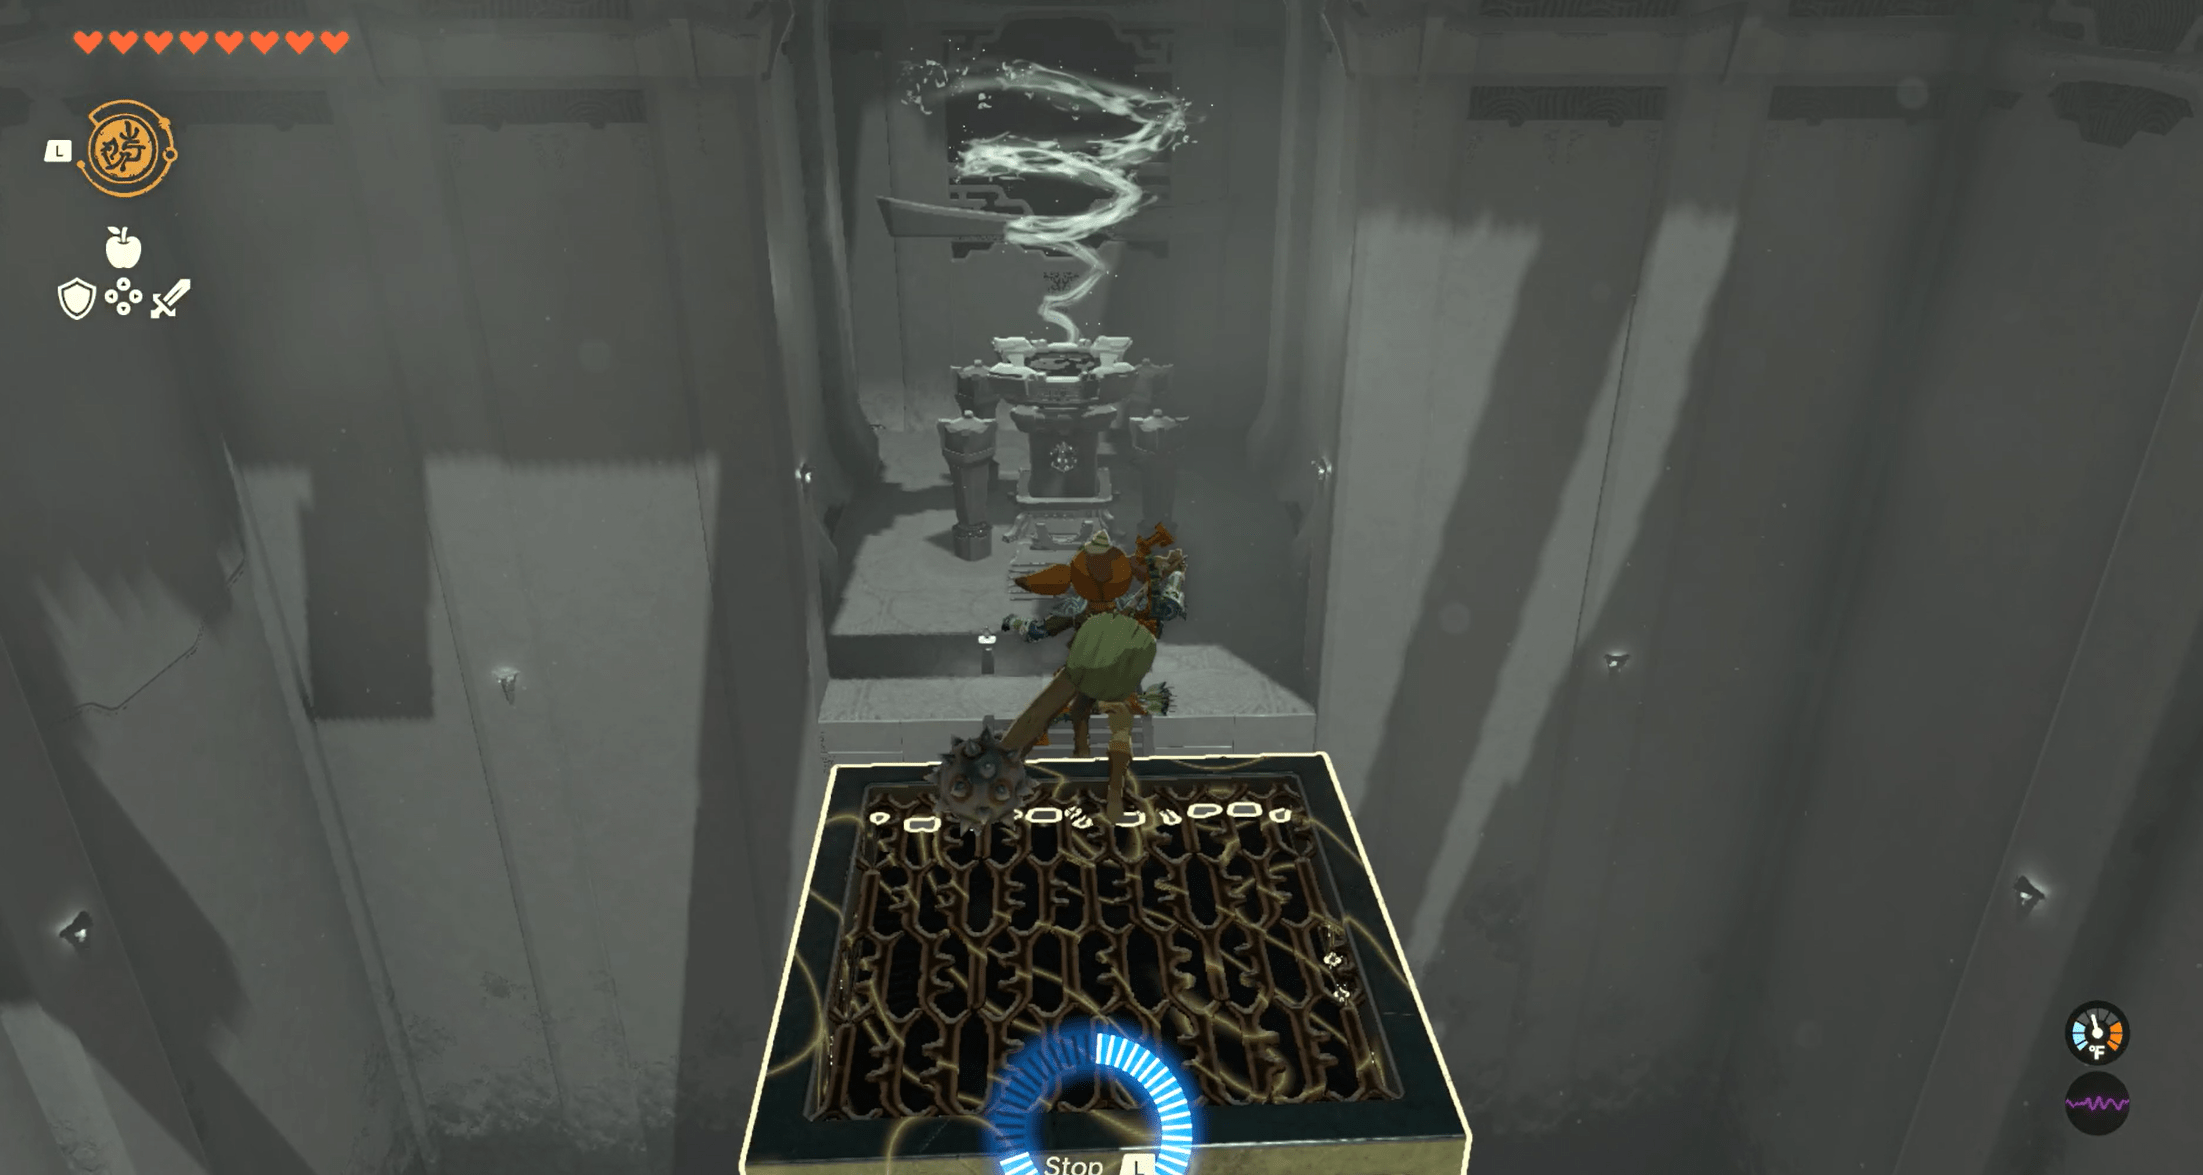
1. You’ll see a button on the floor when you enter the shrine. Have Link stand on the button, and the square platform in front of it will shoot forward and across the gap, then back to its starting point.
2. Step onto the square platform and use the Recall ability, which will rewind time — the square platform will shoot back across the gap without having Link step on the button.
3. Head through the door and into the next chamber.
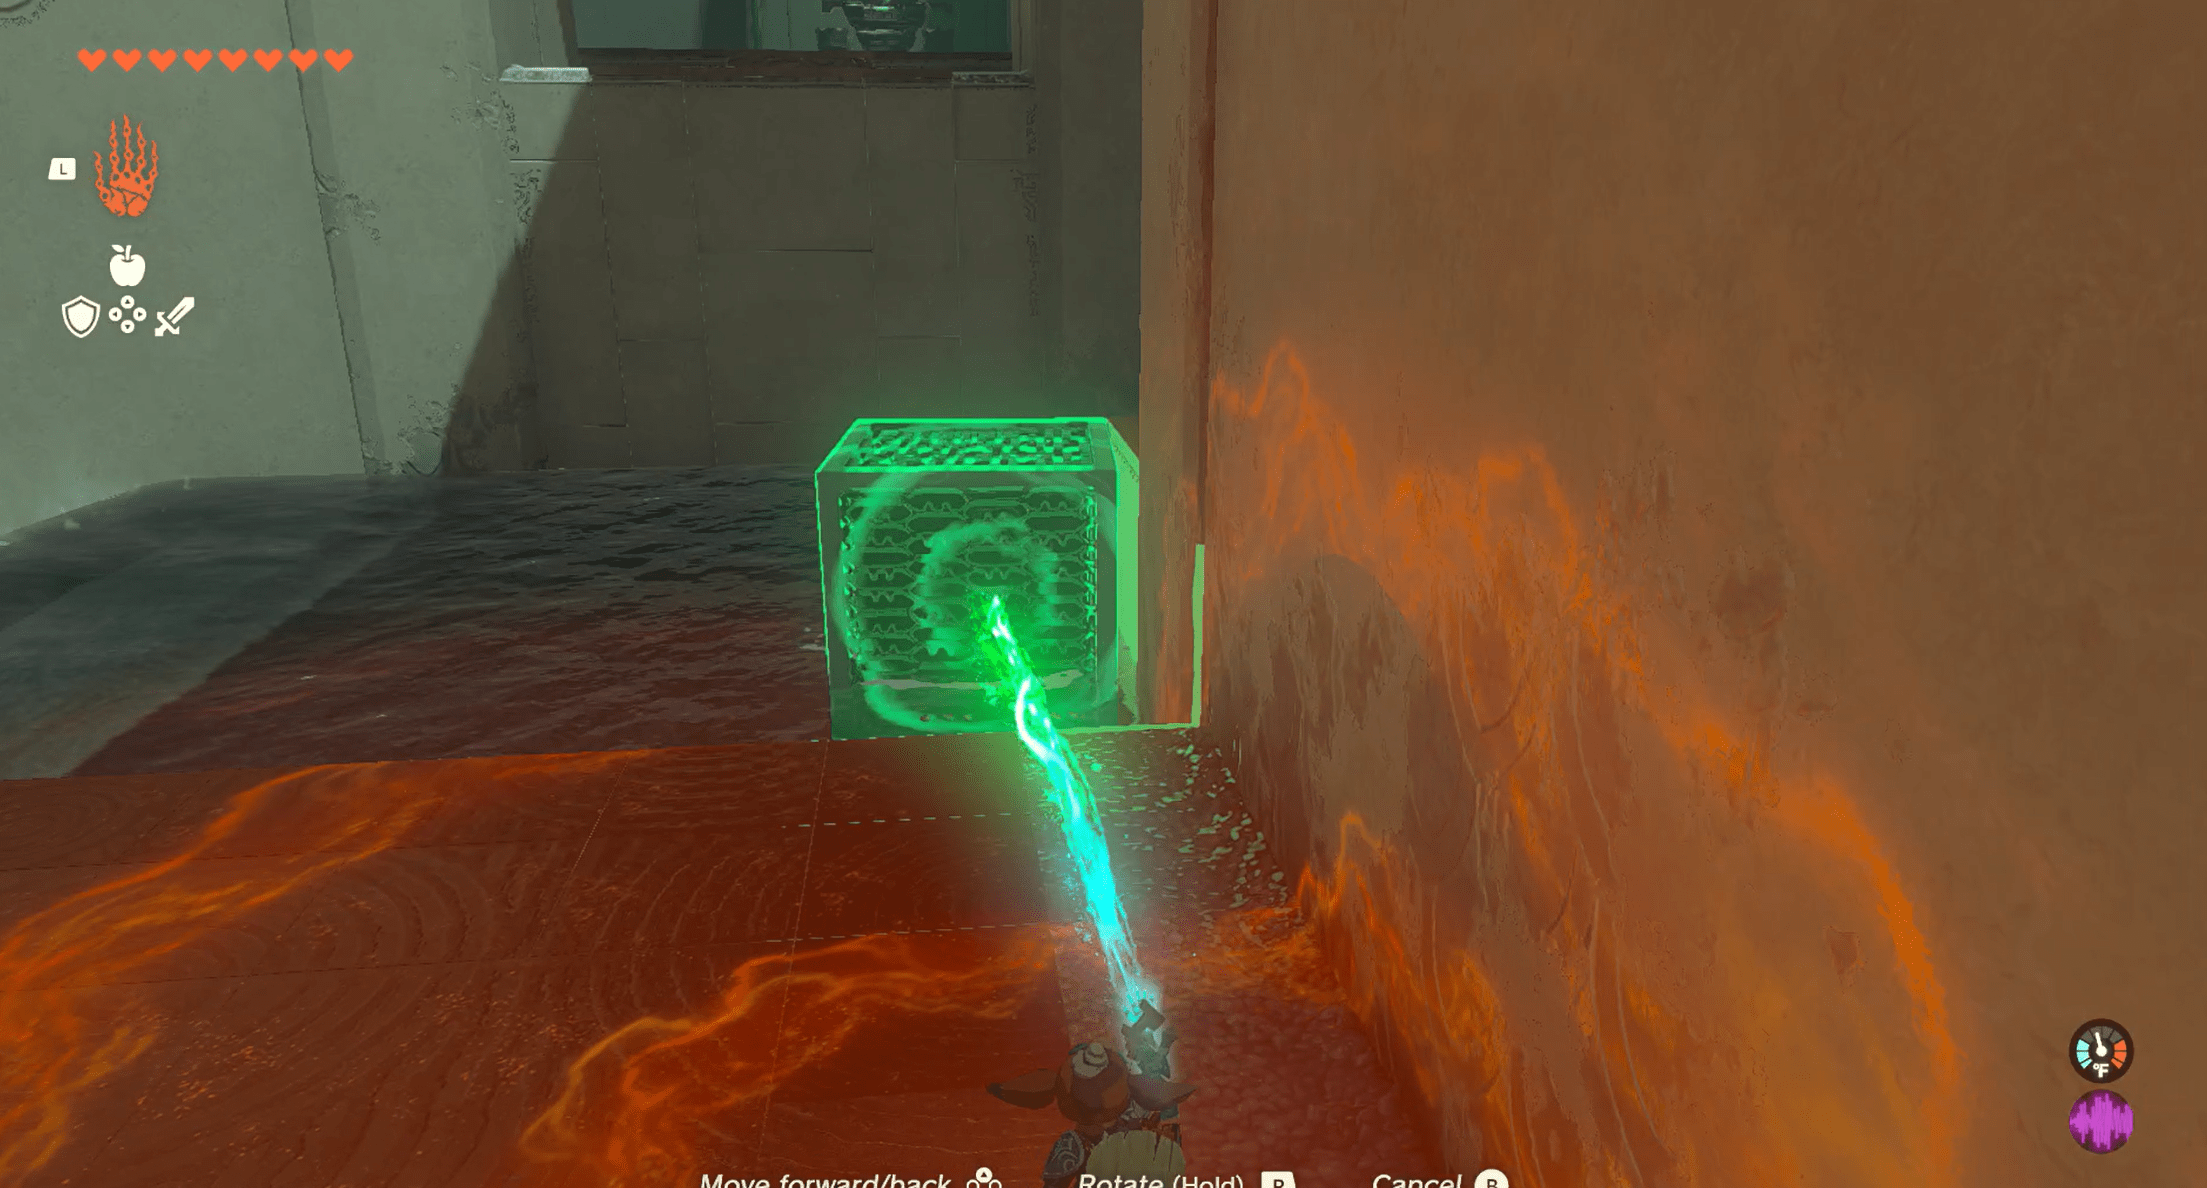
4. The next chamber has a block falling from a high platform that looks to be inaccessible, across a gap filled with water. Before we handle getting up onto that high platform, we’ll grab the treasure chest hidden on the right side of the room. Use Ultrahand to grab a block and move it to the platform you’re standing on, right up against the back wall.
5. Hop onto the block, and to your right side you’ll see the platform and the chest. Inside you’ll find a Zonaite shield.
6. Next, to get up to that high platform, use Ultrahand and move the block from its position close to the platform near you, across the water, and lift it up to the platform. Then, bring it back to the platform near you. The idea here is that you’re creating the pathway the block will follow when using Recall. You can see the path we “drew” with Ultrahand in the image below.
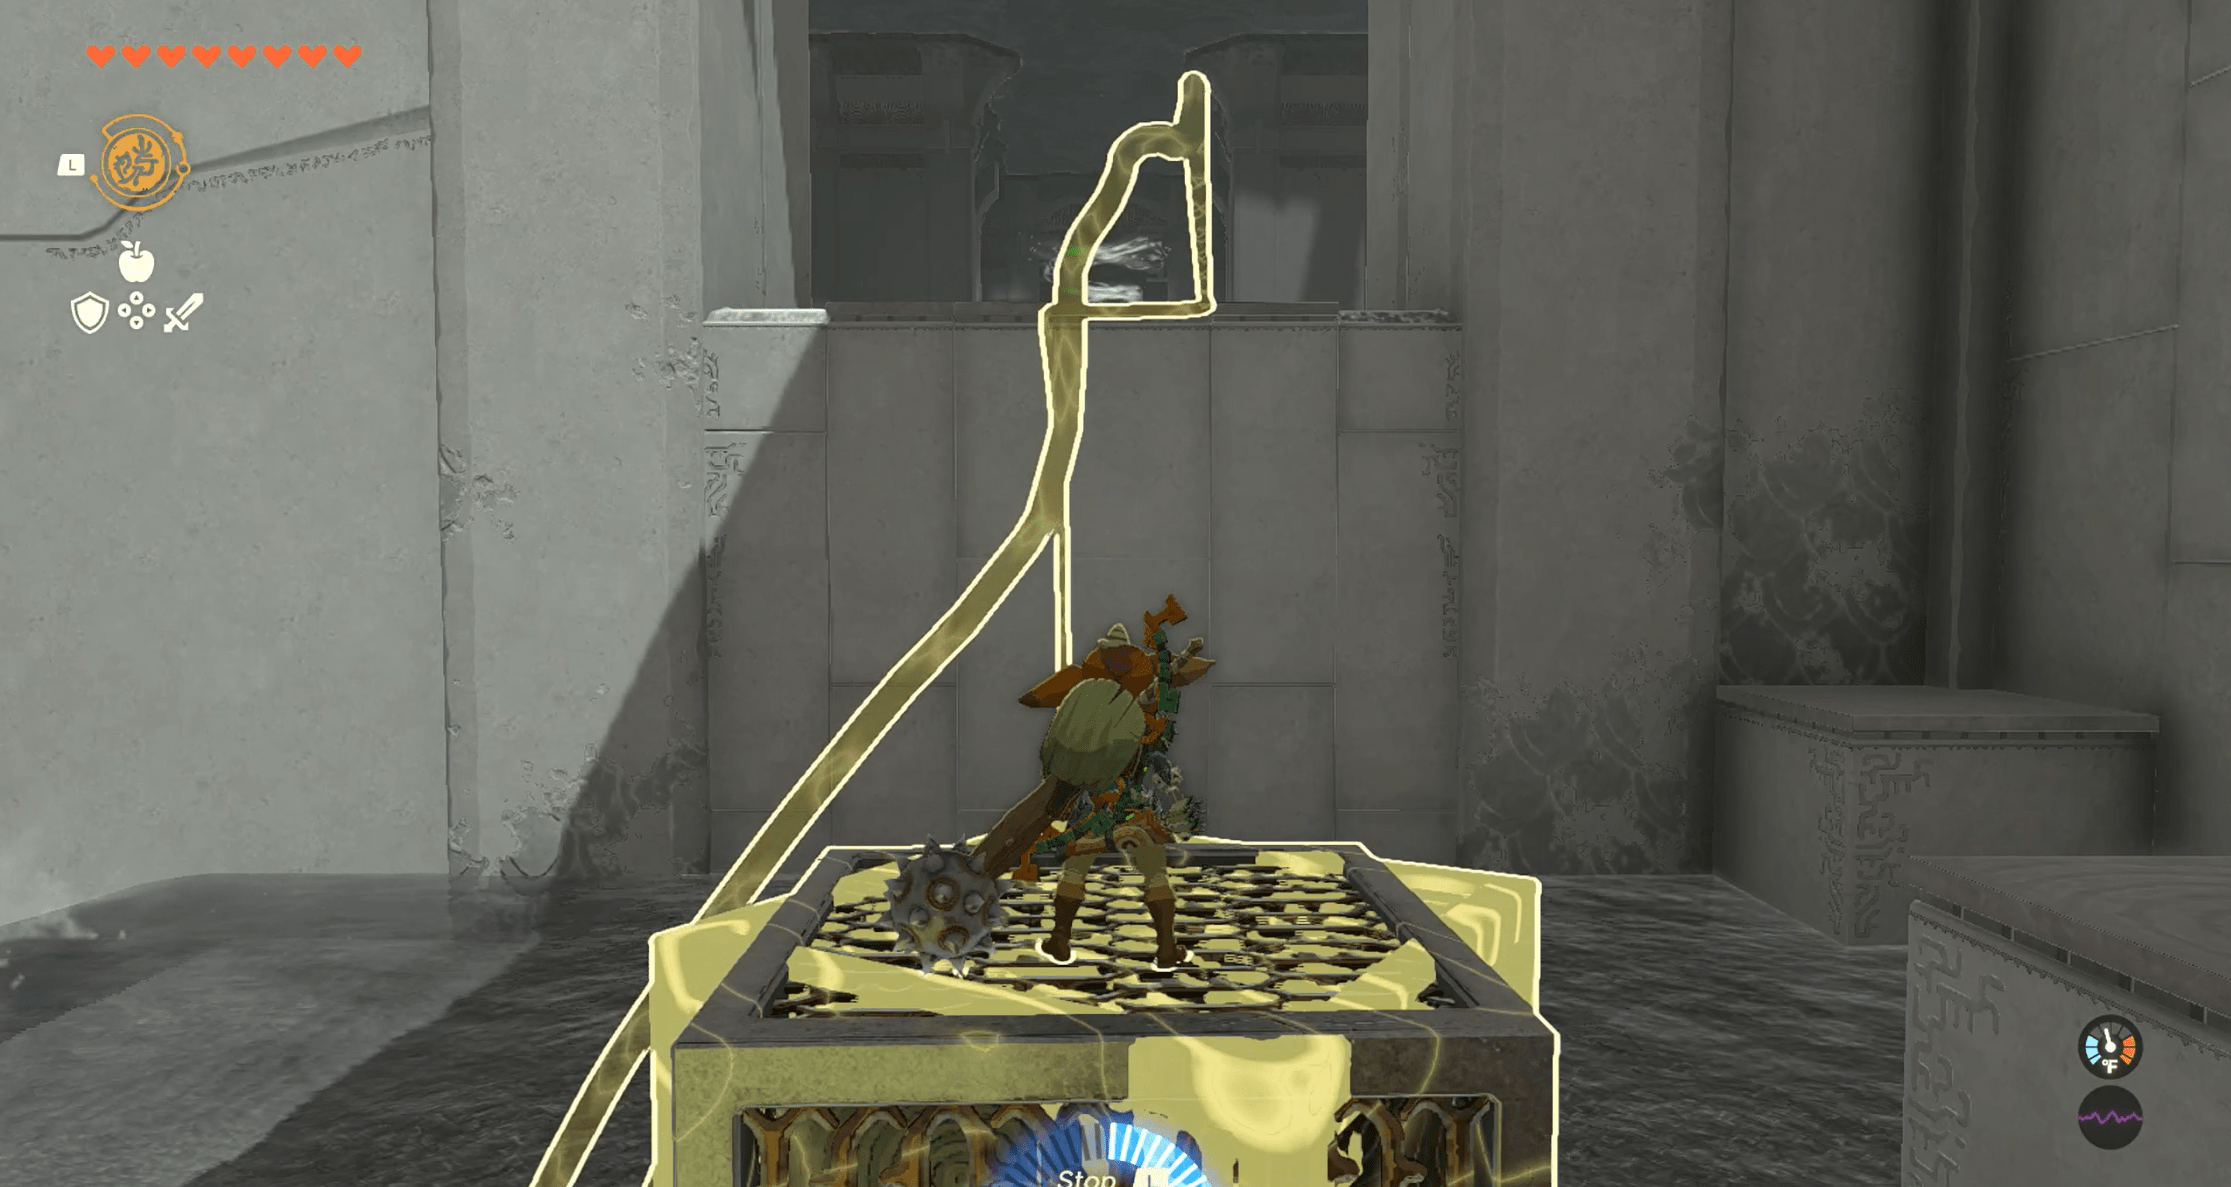
7. Hop onto the block and use Recall. Once the block reaches the higher platform, jump off and into the next chamber.
8. The next chamber is an upside down U shape, and you enter the room at the center of the shape. In front of you at the end of the platform, there’s a button that activates a platform at the other end of the room, past a gap. To your right, there’s a block below. Use Ultrahand to move that block to the moving platform at the end of the room.
9. Use the ladder to climb back to the higher platform.
10. Stand on the button, which will shoot the block high into the air.
11. Run back down to the block on the lower platform. Climb up it, then use Recall to shoot the block, once again, into the air. Hop once the block is at its highest point, then use your glider to cross the abyss and reach the far end platform.
12. Examine the sigil and collect the Light of Blessing for completing the shrine. You did it!